Sometimes the standard brushes in ZBrush do not quite get the effect you want in an efficient amount of time. A way to improve this is by using alphas on your brushes.
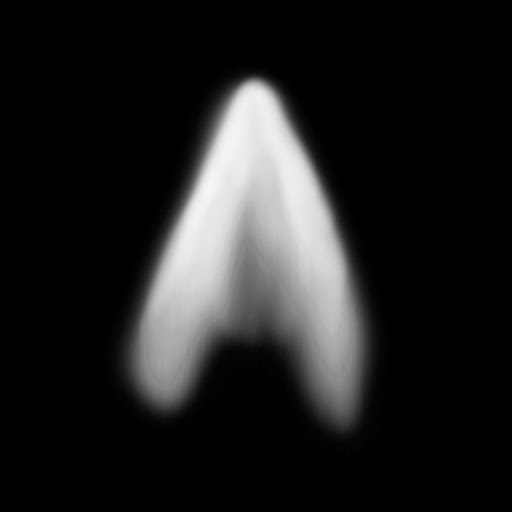 |
| An alpha in image format, before being imported |
This is one way of creating an alpha. Alphas in ZBrush work by using a displacement map (the lighter the area, the more that is displaced) which you can import in. You can make these yourself by just using a greyscale image.
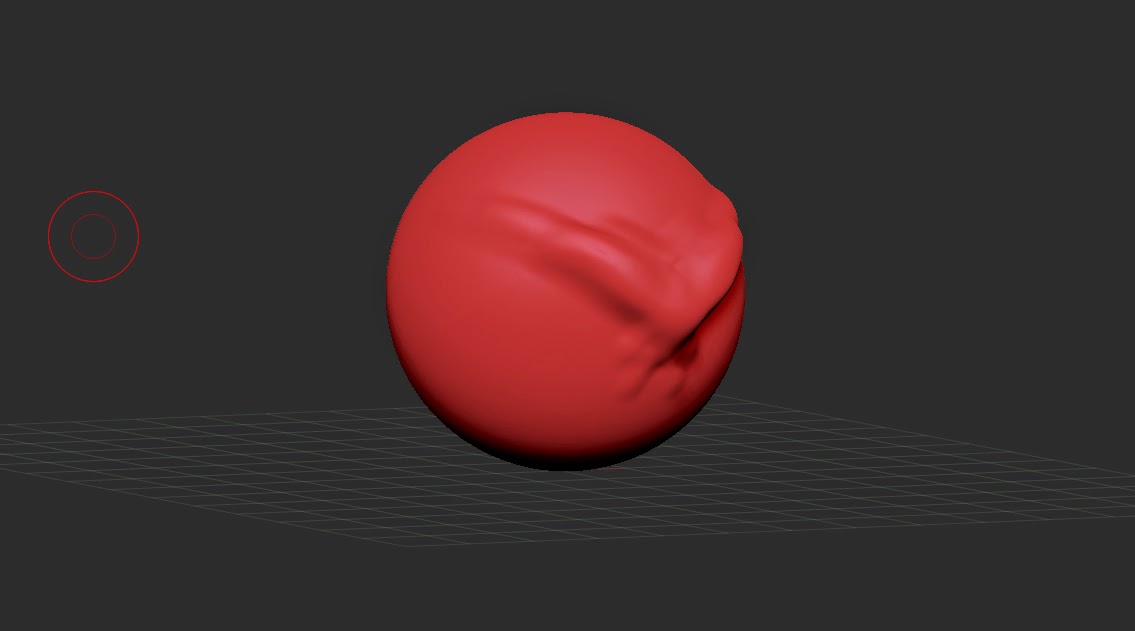 |
| A plain mesh, which could do with some detail |
Here is a sphere with a little sculpting work done on it, but it is feeling a little empty, so it's time to add some surface detail.
 |
| Select the import button and navigate to your saved alpha, then import it. It will appear on the bottom row of the Alphas list |
Select the 'Alpha' box on the left side of your screen, and a window should open up. In this window, you must select the 'Import' button at the bottom of this window. This will allow you to navigate to your image file. ZBrush is compatible with .PSDs, JPGs and most other formats, but so far I have not been able to successfully import a PNG file, so avoid using these if possible.
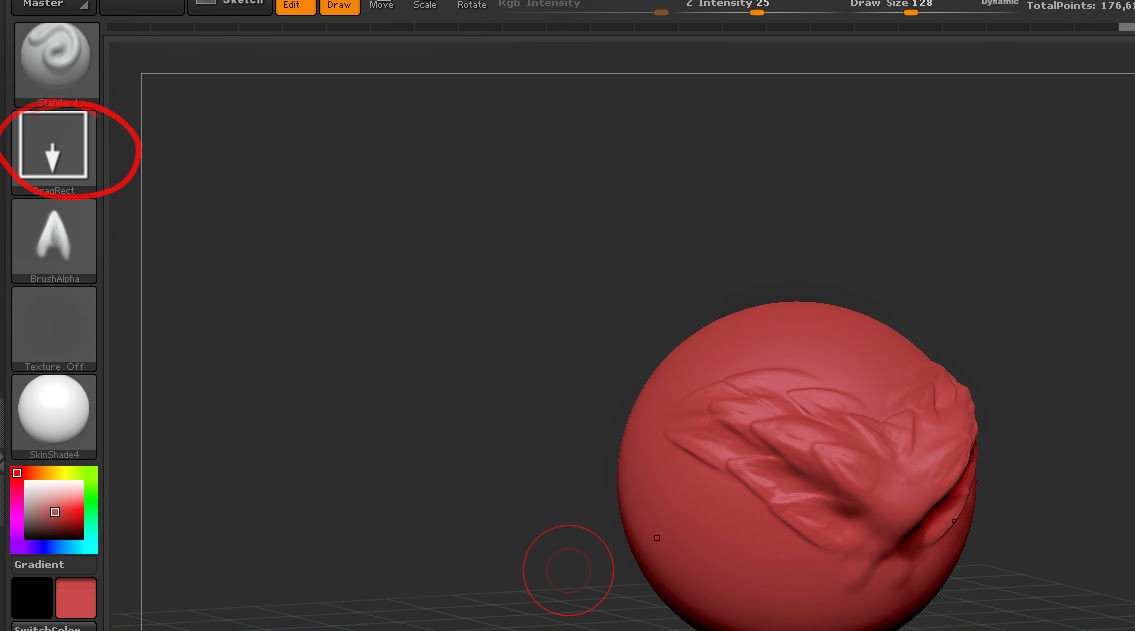 |
| Now you're thinking with alphas! |
Now select your imported Alpha, which should appear in the bottom row of your opened window. Now you are able to use the changed brush to add more detail onto your mesh. You can also change the Stroke of the brush to apply it in a different way. DragRect is best used for singular detail, whilst Dots is better used for larger patterns.
No comments:
Post a Comment