Within ZBrush, there are multiple different ways to start off a sculpt. One of these methods is Shadowbox. Shadowbox has its perks but also has its downfalls, which will be demonstrated below.
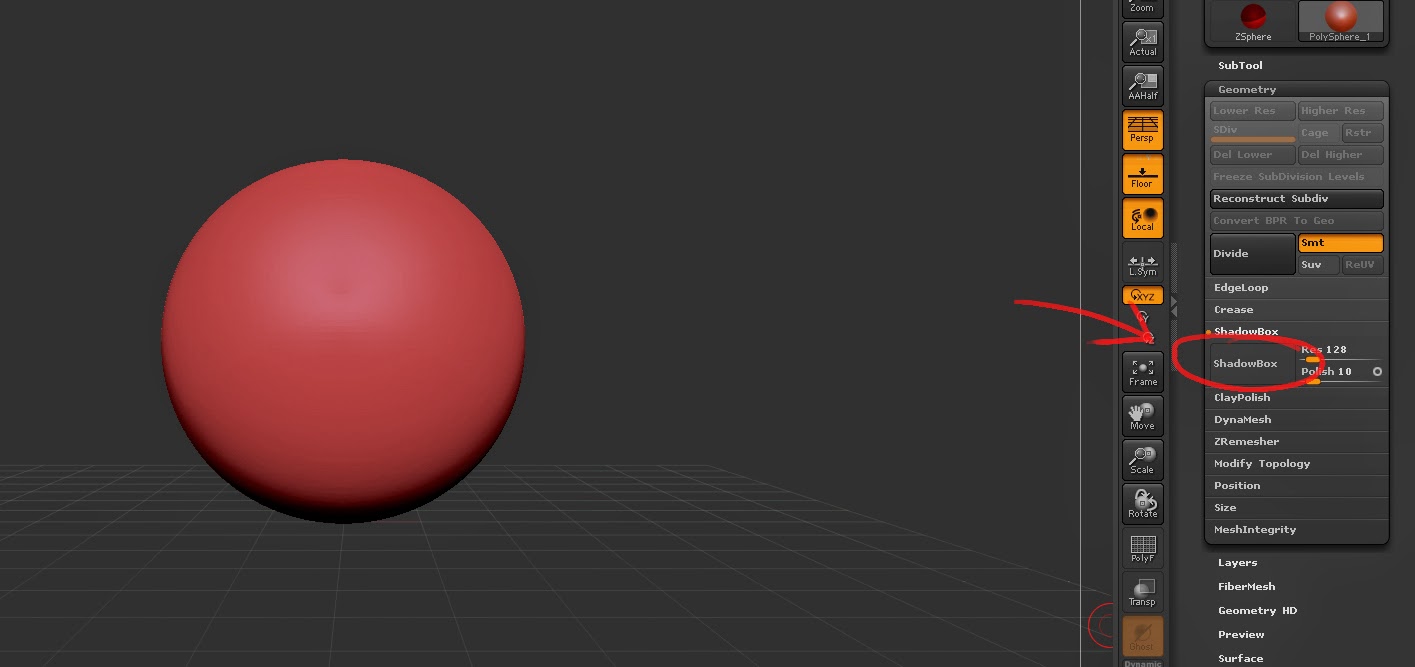 |
| The Shadowbox button is located under the 'Geometry' tab |
To access Shadowbox, you must press the button located under the 'Geometry' menu on the right of the screen.
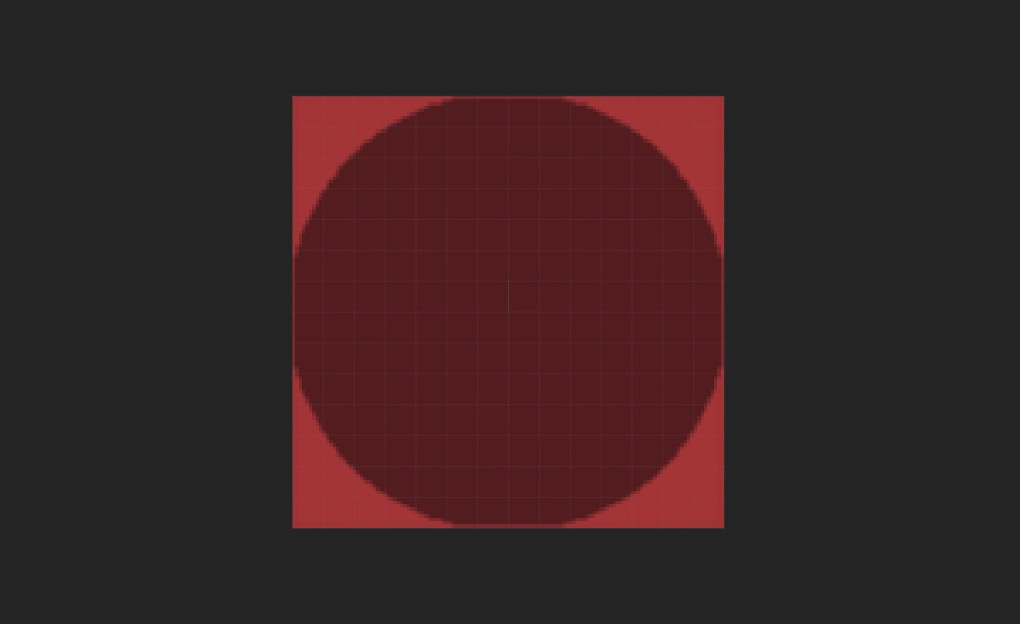 |
| This is the view you will get right after clicking 'Shadowbox' |
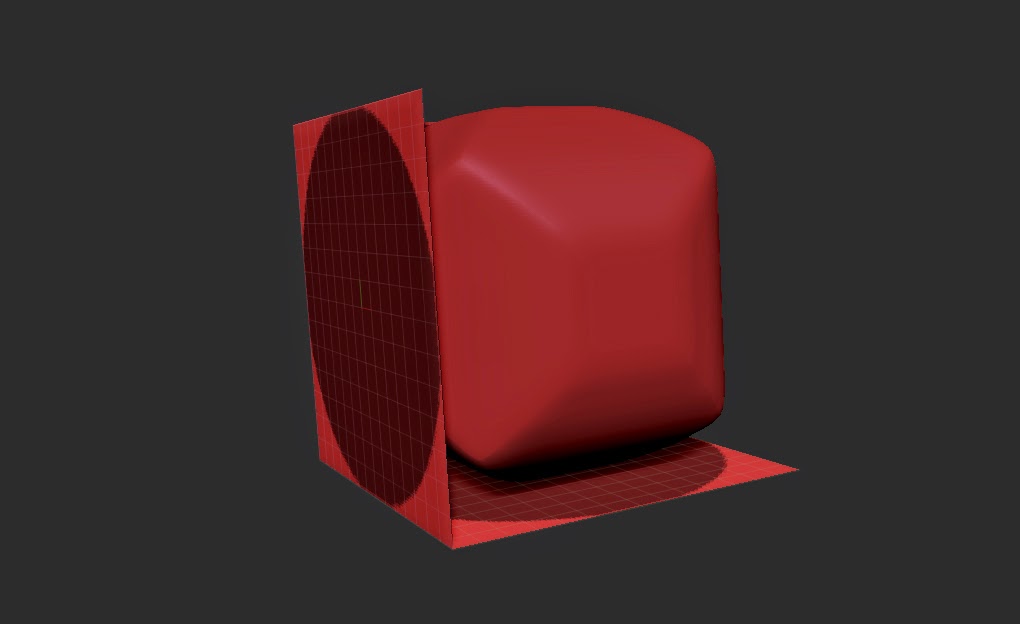 |
| Rotating the mesh to the side, you will see the object there |
You will be presented with your object being mapped onto 3 different planes, one for each axis (x, y, z). Shadowbox calculates where lines intersect and creates vertices there, creating a shape from 3 flat images. It is also possible to import images from another program and use those to create an object.
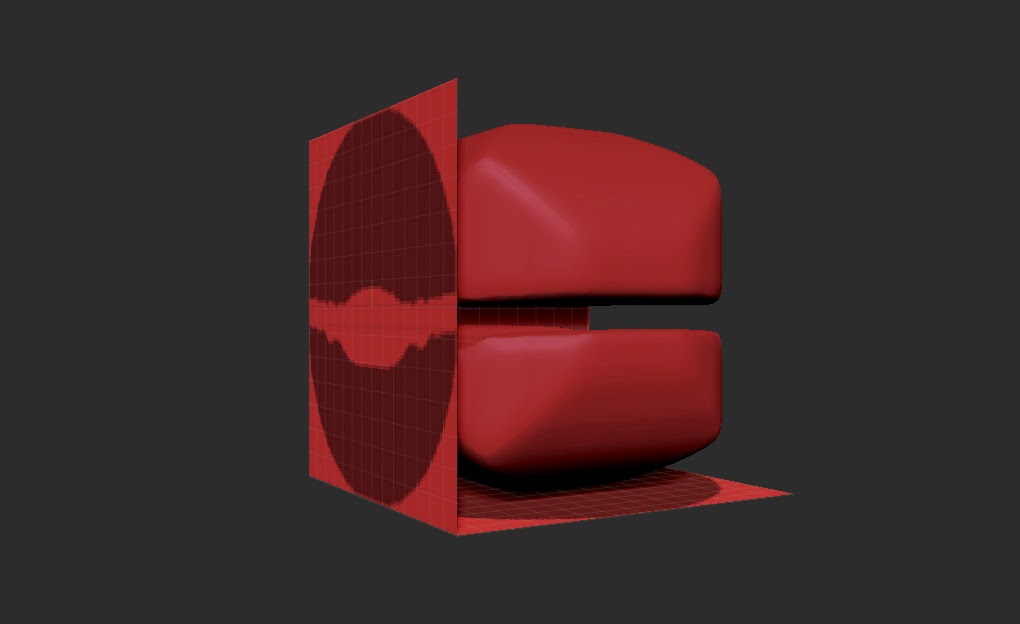 |
| Removing part of the mask will affect the object directly |
You can edit the pre-existing shape by using the mask tool (Ctrl) to add to the silhouette, and remove mask tool (Ctrl + Alt) to take away from the silhouette.
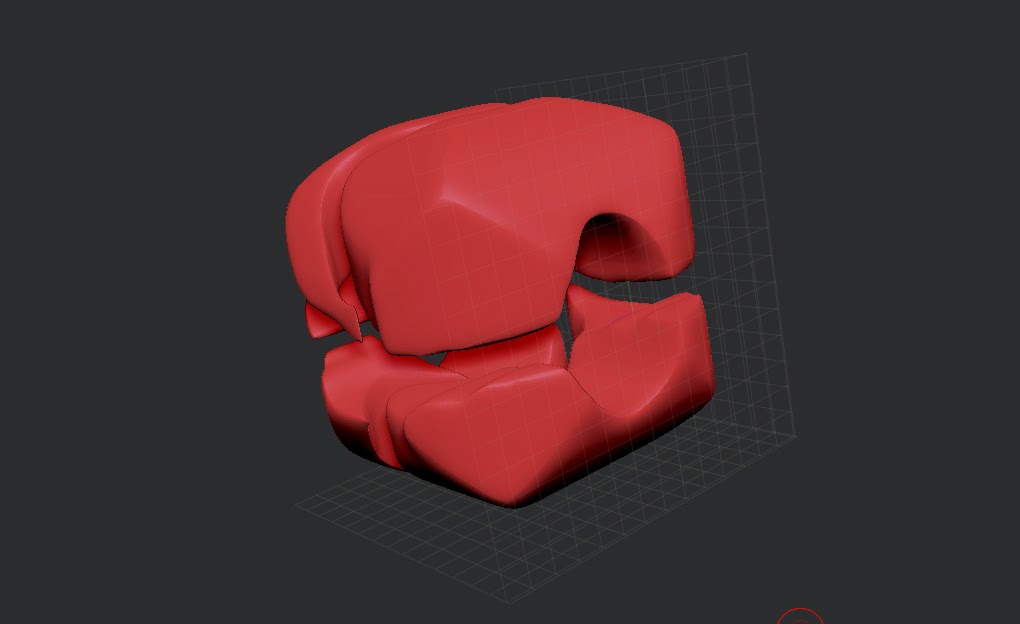 |
| After messing around for a short while... |
Shapes can be created pretty quickly with Shadowbox, however there is the issue in which shapes can become blocky and hard to manipulate effectively, though this can be fixed by going in with sculpting tools after achieving your desired shape with Shadowbox. Simply press the button in 'Geometry' again to turn it off.


No comments:
Post a Comment