Unlike most digital modelling programs, with ZBrush it is very easy to start from nothing. One of the ways to achieve this is by using ZSpheres, which allow you to create rudimentary forms out of spheres.
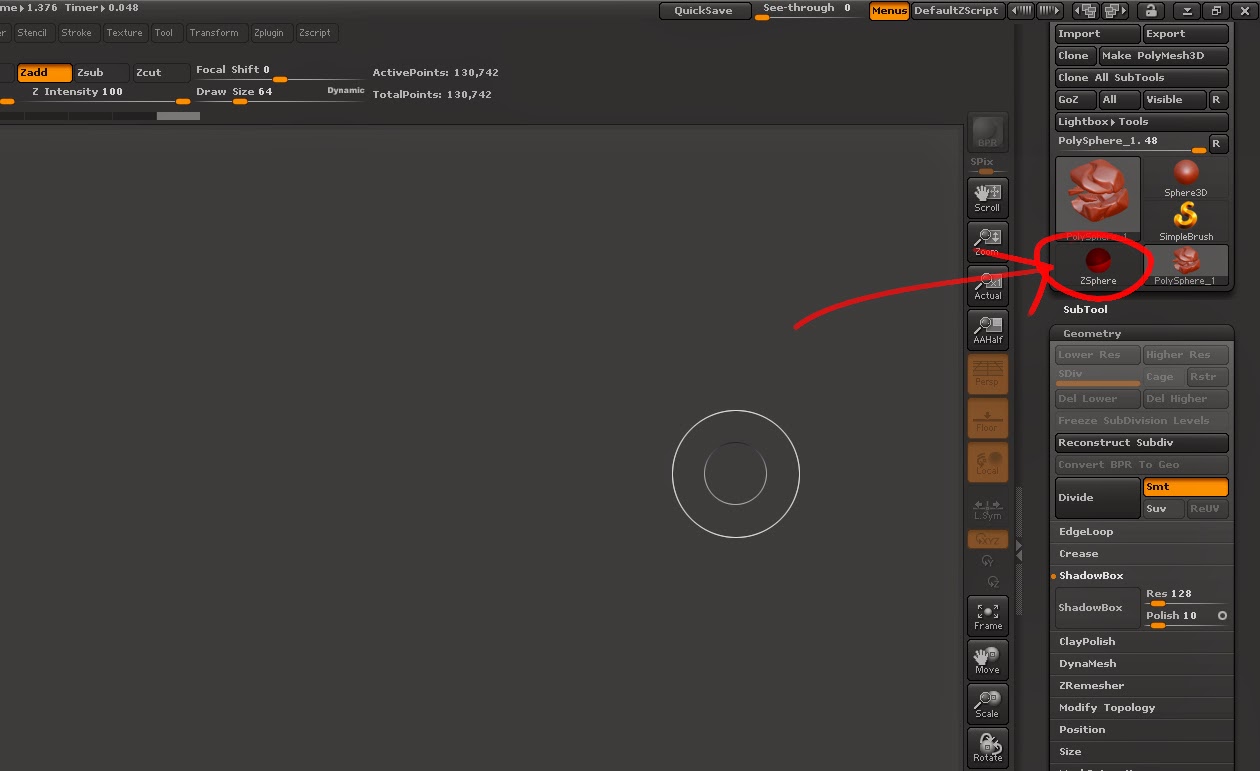 |
| You must select the ZSphere tool from the tool palette |
To access ZSpheres, you must go to the tools palette and select the ZSphere tool from the palette. You then draw one out onto your canvas. At this moment you are in 2.5D drawing mode, so you must only draw 1 sphere.
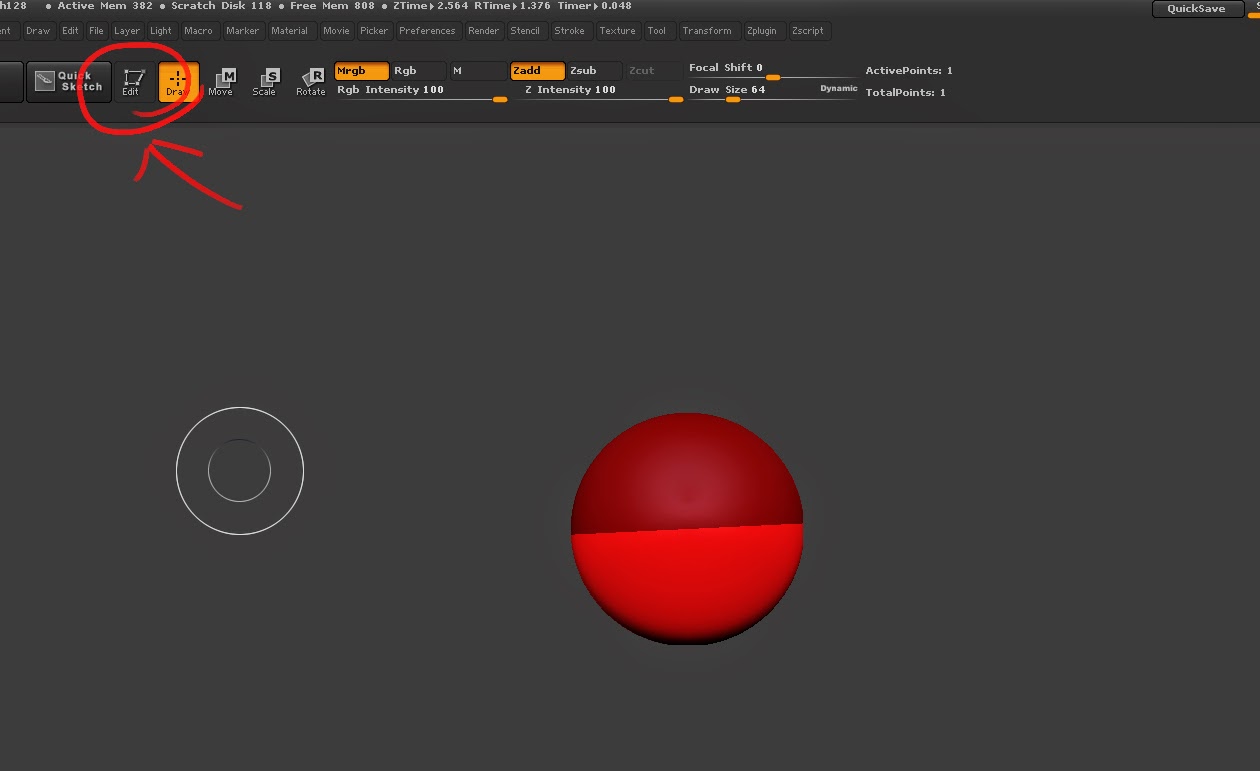 |
| Drag out only one sphere, then hit the 'Edit' button in the top left |
Now, after drawing the sphere out, you must click the 'Edit' button to enter edit mode. This is very important, so do not skip this step!
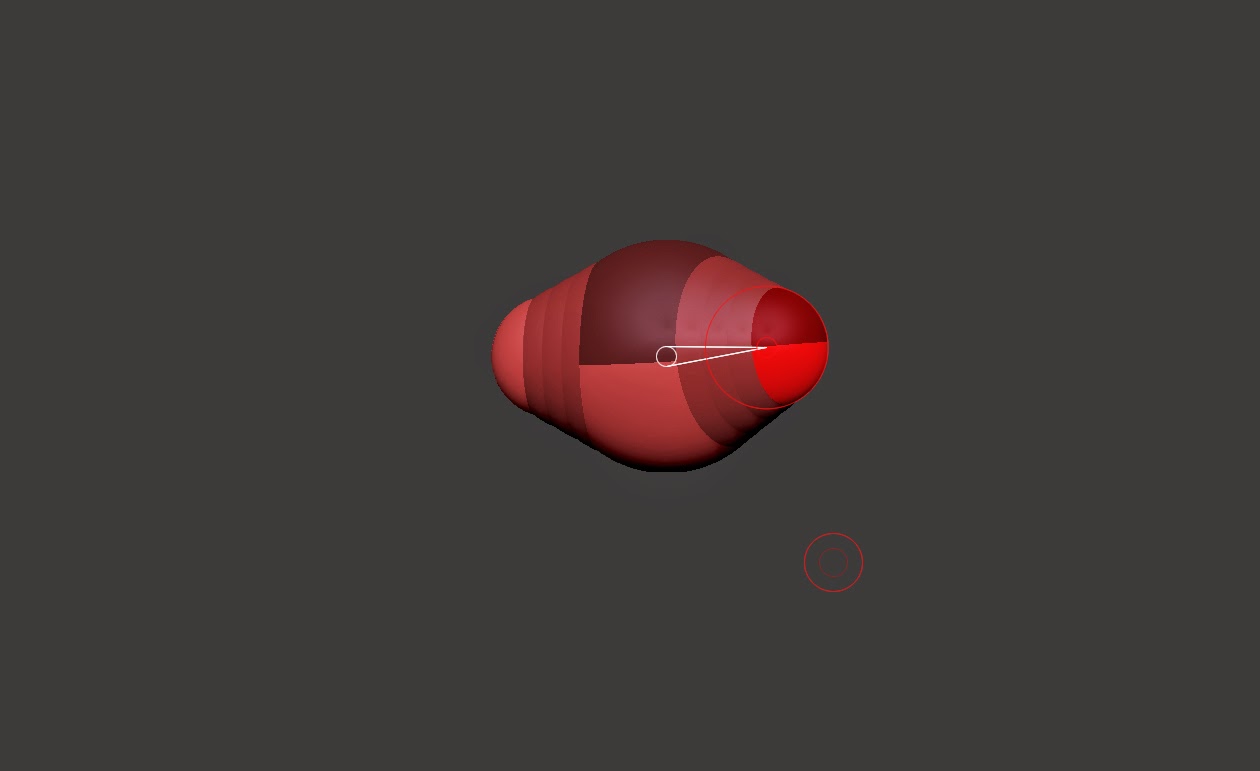 |
| To add additional spheres, draw them by clicking and dragging on an existing sphere |
Now you can create your form. By clicking on the Sphere, you can draw additional spheres. The Move tool (located next to the Edit button shown previously) will move spheres around, whilst scale will scale them. One thing to keep in mind is that symmetry is not turned on by default, though you can easily toggle it by pressing X.
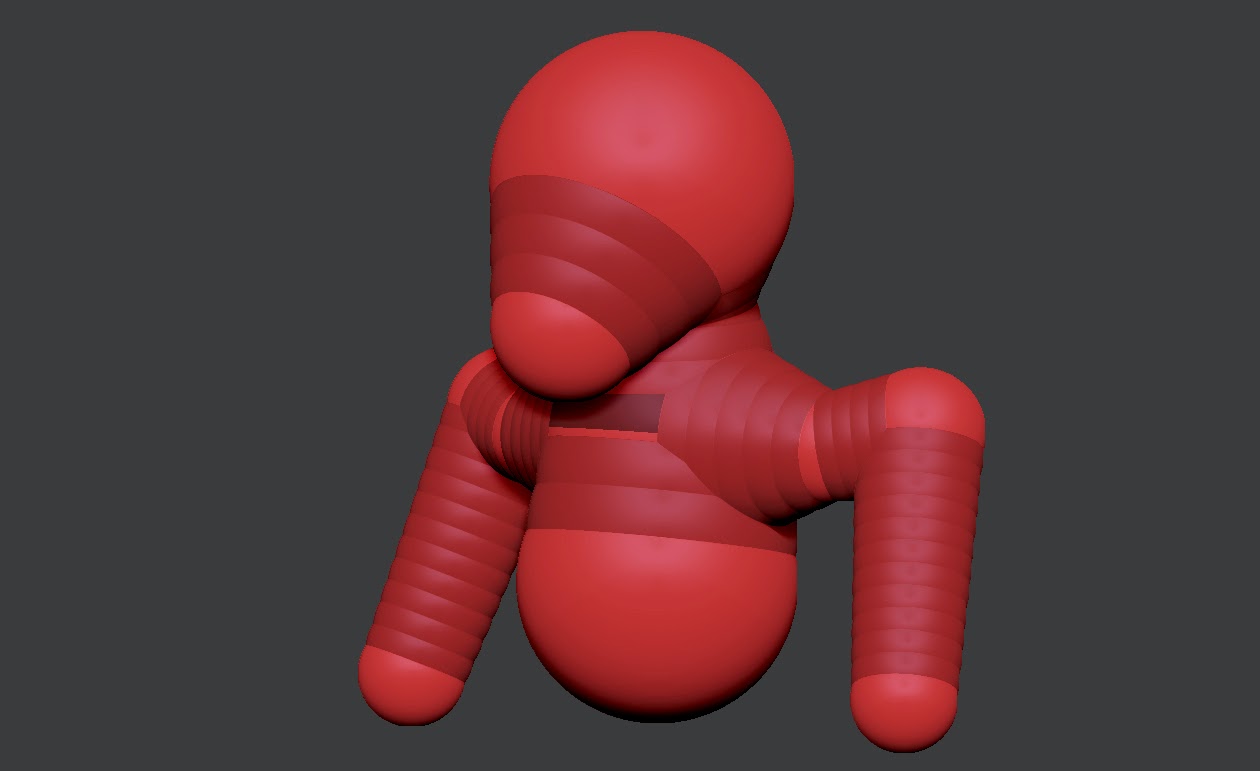 |
| Creating a basic shape is very quick and easy with ZSpheres |
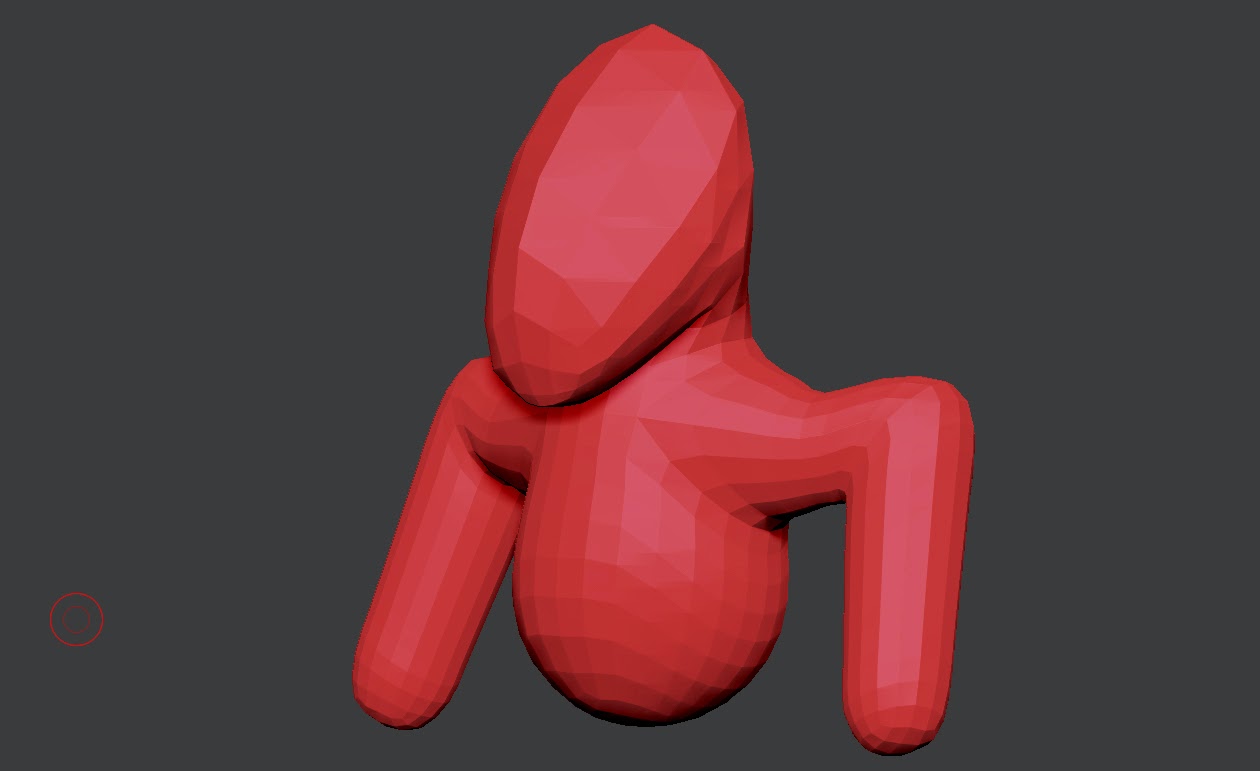 |
| Press 'A' to preview your mesh |
After you get a form created, you can hit A to preview your mesh outside of ZSpheres. You can also edit in preview mode.
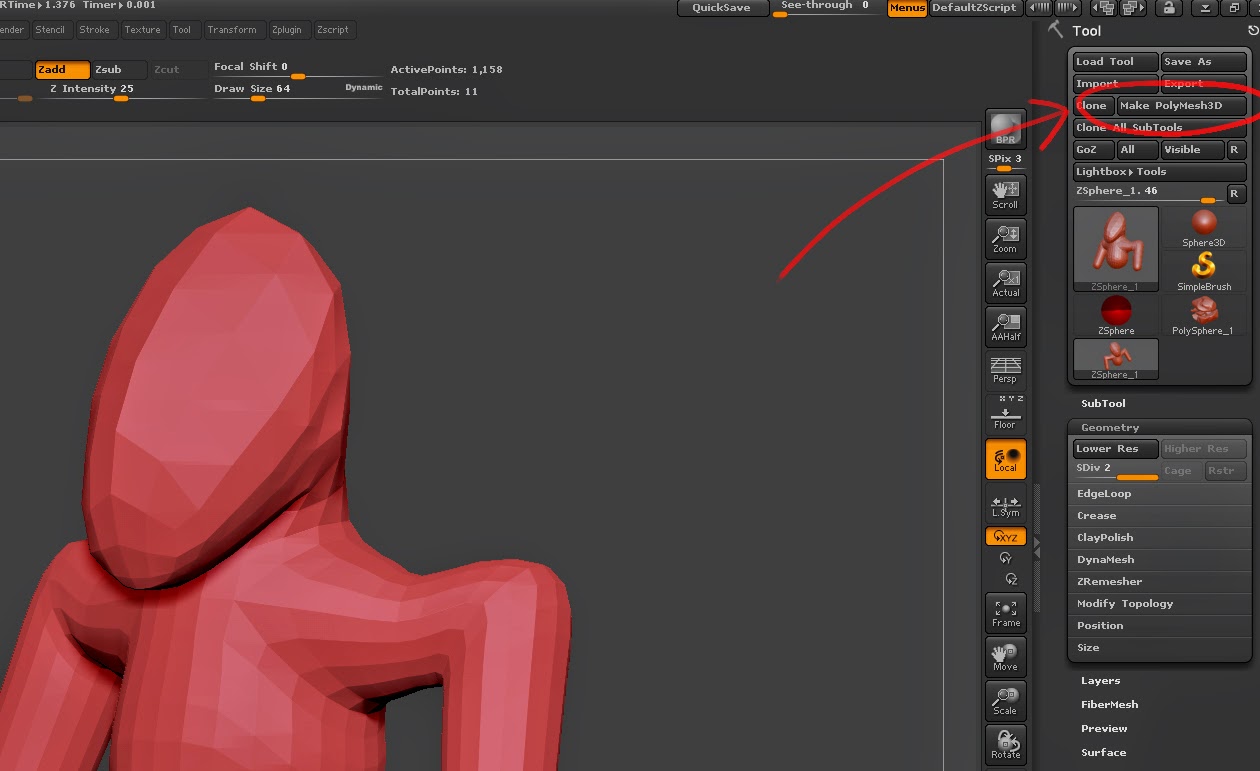 |
| Pressing 'Make PolyMesh3D will turn your mesh permanent |
To turn your model permanently into a mesh, you must press the Make PolyMesh3D button. This will allow you to do anything to your mesh that you would be able to do with a primitive, such as enable DynaMesh. However, once you hit this button, you must re-enable symmetry by pressing x. You can now work on your newly created mesh like you would a sphere primitive.
No comments:
Post a Comment